|
This article provides an in-depth description of how we build big wall anchors using the system from Part 1. As we learned through practice, the anchor must be constructed in a very specific way in order to maximize efficiency. With two people jugging ropes, and a heavy haul bag, it is all too easy for important equipment to get trapped under a weighted carabiner. A consistent and repeatable procedure is therefore required if a party is to have any hope of avoiding the dreaded CF (cluster-fuck)! By constructing the anchor in "layers" we ensure that everything is assembled and disassembled the same way every time. 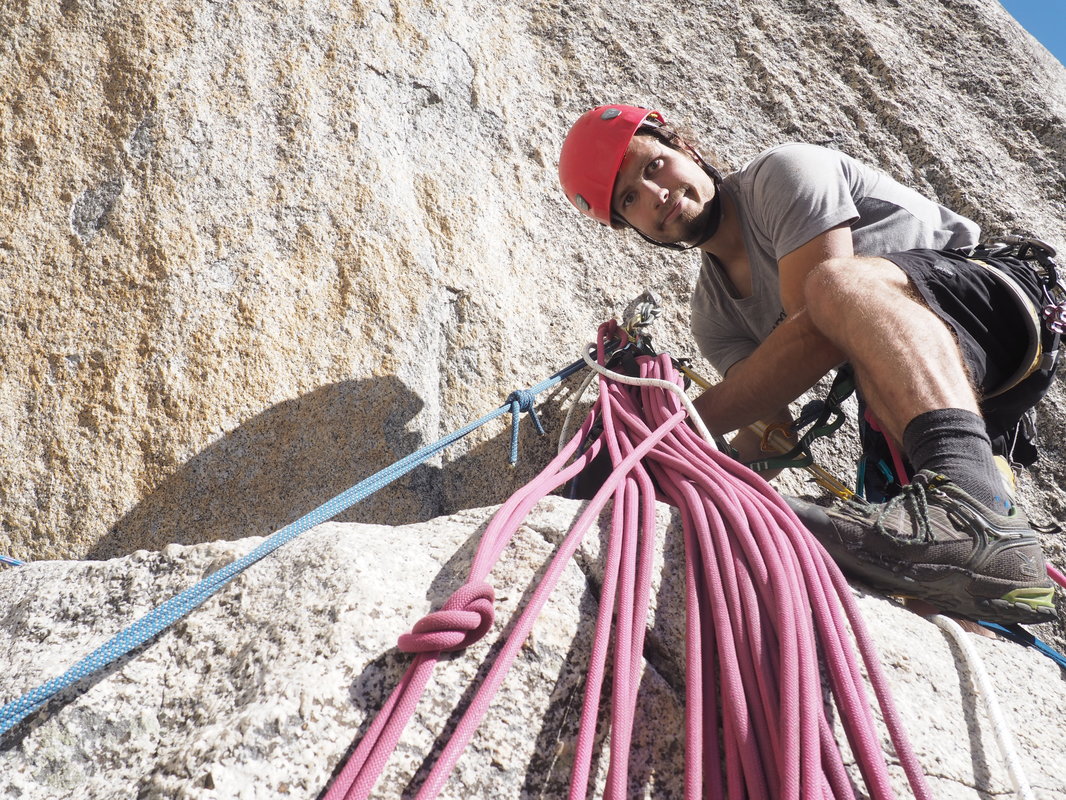 Outline:
Equipment listHere's what you're going to need to build this anchor. Ropes, haul bags, and personal big wall equipment are omitted from this list.
In the end the items will be distributed as follows:
Hierarchy of prioritiesIn order to maximize the efficiency of the entire party, each team member must understand what the top priority is at a given time. If your party has things really dialed in, everyone should be working on top-priority tasks from the moment the leader shouts "off belay." We'll begin with the leader. Upon reaching a belay station, the leader's priorities are as follows:
Now for the second, who is most likely belaying the leader. Once the leader shouts "off belay," the second's priorities are:
And finally, the third/cleaner's priorities:
Follow? Maybe not, but don't worry, we'll be going over these operations in detail below. Pay close attention to the assembly procedure, and return to this section as often as necessary to understand why each step is carried out as is. Assembly procedurePhase one: Fixing the jugging line for the second We begin with a leader reaching the anchor point at the end of his pitch. Like many belays in Yosemite, there are two bolts available, and a convenient cam placement nearby. With three people and four ropes in play, never be tempted to pass up the placement. Building this anchor on three points will make your work easier by an order of magnitude. NB: We've omitted our etriers and backpacks from these photos for clarity. Phase two: Releasing the haul bags from the previous belay Excellent, things are now moving along well for the whole party, and the anchor is only half assembled. Next priority is getting the cordelette anchor on so that everything can be properly backed up. Once that is taken care of, you will be ready to get the haul bags out from the previous belay. Be very careful to clip everything in exactly as we have above. During these operations, you start to confront the possibility of developing a CF. Phase three: Fixing the rope for the cleaner With the bags lowered out, and the half-way up their rope, all that's left is to get the third moving. Phase four: Starting the leader on the next pitch By now, your second should have arrived. The two of you can work together to get the next pitch started while the third is cleaning. Phase five: Assisting the leader, and docking the haul bags This is pretty cool, you have a leader starting a new pitch before the cleaner is even halfway through cleaning the previous pitch. The leader will probably need more gear soon, but luckily the tag-line provides an easy system for retrieving gear from the cleaner. While the leader is moving up the next pitch, the priority is getting the haul bags up before the leader finishes. Phase six: Getting the new second ready to leave the belay Now begins the process of taking down the anchor. With everything done right, the anchor should easily come down in the reverse order it was constructed, leaving only a cordelette anchor and the docked haul bags by the time the second has lowered out. Phase seven: Lowering out the bags and taking down the anchor This is the last phase. In the end, your entire party will have advanced another full pitch up the wall. Recommendations and conclusionPractice Needless to say, this system took us a lot of practice to get down. It helps to practice many times in the gym, like we have shown above. We recommend practicing the set-up in stages rather than trying to build the entire thing right away. Try this: Day 1: practice going through phases 1-3 three times Day 2: assemble to phase 3, then practice to phase 5 Day 3: assemble to phase 5 twice Day 4: assemble to phase 7 Day 5: assemble to phase 7, then simulate a multi-pitch by having a separate anchor to reach. Then go to phase 7 on the second anchor With the procedure dialed on the ground, you have to take it to a multi-pitch before thinking about tackling a big wall. Pick a route with 3-4 pitches that can be rappelled, and isn't crowded. Pack everything (besides the gear in the haul bags) that you would take with you on a wall, and try the system. Try it repeatedly if possible, until you can do your 3 pitches in under 3 hours. Test it out Once you're really confident, there's only one thing to do: take it out on a big wall. We recommend not being too ambitious. Try a 10-12 pitch route, and aim for a 2 day ascent, with maybe 2.5-3 days of water. If all goes well, you'll be moving almost as quickly as a party of two before too long. With lots of practice, we're certain that you can move even faster than a party of two. Thanks for reading! Along with part 1, we've given you our complete theory of how to climb big walls in a party of three. We hope that we've demystified some of the unresolved discussions about the best way to go about it. This is the system that worked for us, and we hope it will lend success to you as well. Good luck out there!
0 Comments
Leave a Reply. |
Archives
April 2017
Categories |
 RSS Feed
